 Save to Pinterest
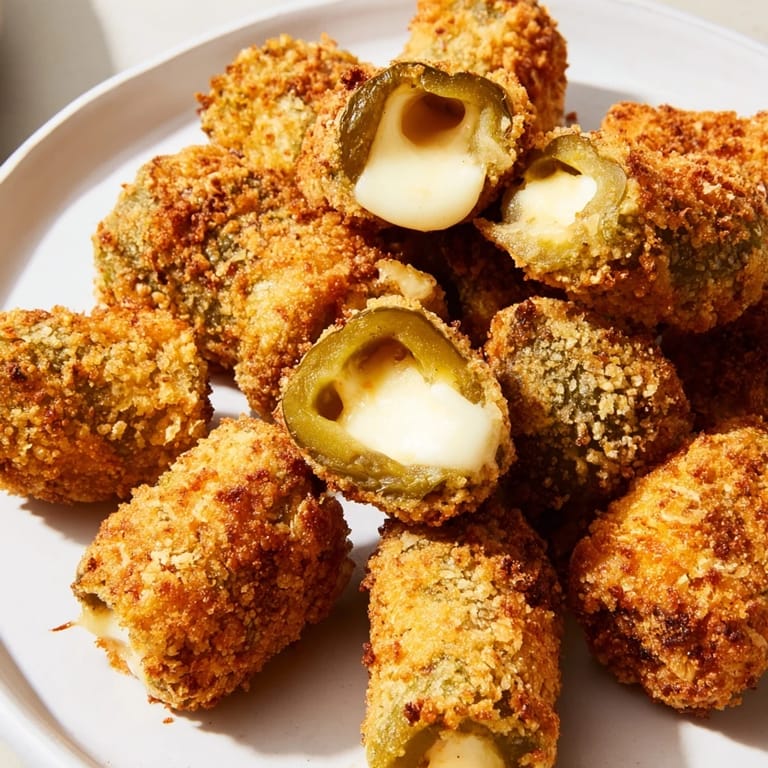
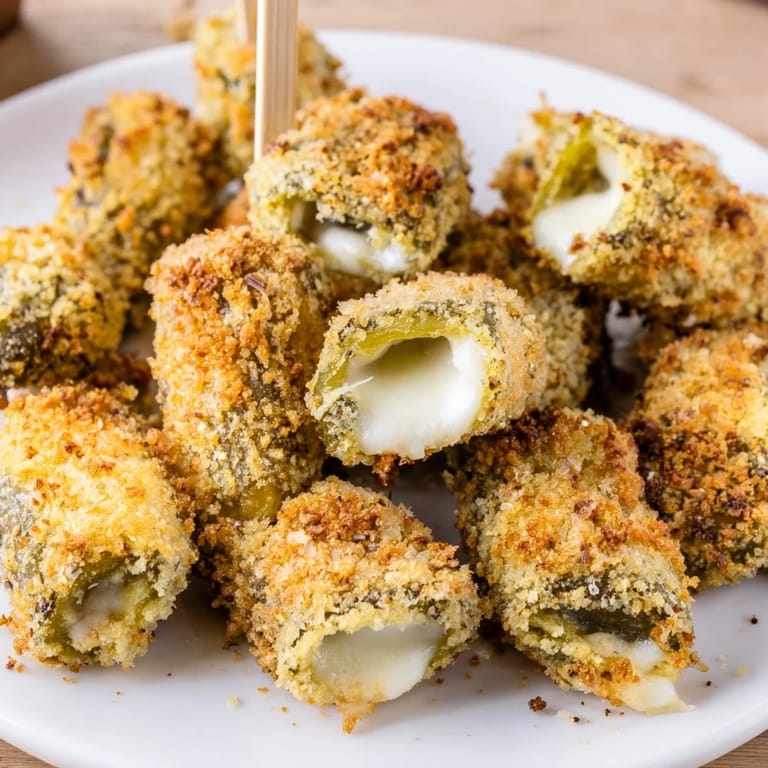
 My friend Sarah burst into my kitchen one afternoon with a bag of dill pickles and a wild idea: what if we wrapped them in cheese and fried them until golden? I thought she was joking, but fifteen minutes later, I was biting into something so unexpectedly crispy, tangy, and gooey that I couldn't stop eating them. Now, Crispy Chickle Bites are the thing people ask me to bring to every gathering, and honestly, they're almost too easy to make.
I remember making these for a game night when I had exactly sixteen people coming over and absolutely nothing impressive to serve. My kitchen smelled like fried cheese and vinegar, and everyone hovered around the skillet like moths to a flame, eating them straight out of the oil before they'd even cooled down enough to be safe.
Ingredients
- Dill pickle spears: Use large, firm spears and pat them completely dry—any moisture on the surface will steam instead of crisp up and can make the coating soggy.
- Mozzarella, cheddar, provolone, or pepper jack cheese: Slice cheese is your friend here because it wraps cleanly around the pickle without needing to cut thick blocks; for extra flavor punch, pepper jack adds serious kick.
- Egg and milk: This creates a binding liquid that helps the breadcrumb coating stick properly and fry up golden rather than falling off.
- Gluten-free panko breadcrumbs: Regular panko works too, but panko gives you that distinctive crispy texture that regular breadcrumbs can't quite match.
- Garlic powder and smoked paprika: These transform plain breadcrumbs into something savory and aromatic that makes people wonder what your secret ingredient is.
- Vegetable oil for frying: You need enough oil to submerge the bites halfway, and keeping it at exactly 350°F makes the difference between crispy and greasy.
Tired of Takeout? 🥡
Get 10 meals you can make faster than delivery arrives. Seriously.
One email. No spam. Unsubscribe anytime.
Instructions
- Dry your pickles like they're going somewhere important:
- This is the step everyone wants to skip, but moisture is the enemy of crispiness. Pat each spear thoroughly with paper towels until they feel completely dry, then cut each one in half.
- Wrap each pickle piece snugly in cheese:
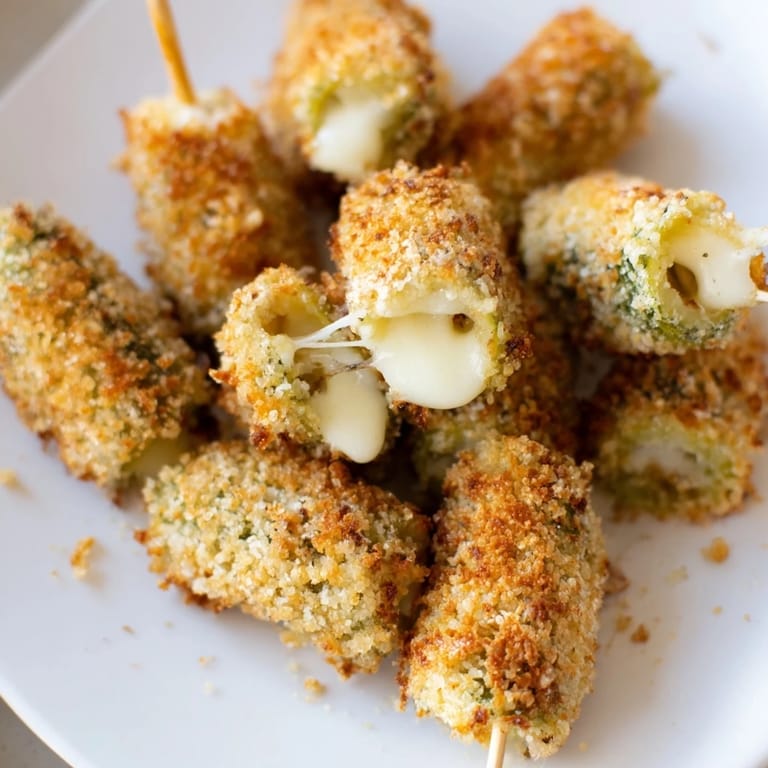
- Lay a slice of cheese flat, place your pickle piece at one end, and roll it tightly so the cheese hugs the pickle like a little blanket. A toothpick keeps everything secure during frying.
- Set up your coating station:
- Shallow bowls work perfectly—one with your egg and milk mixture, one with your seasoned breadcrumbs. This assembly line approach keeps your hands less messy and your coating more even.
- Bread each bite with intention:
- Dip into the egg mixture first so the breadcrumbs have something to cling to, then roll in breadcrumbs and press gently. Uncoated spots will taste sad, so make sure every surface gets covered.
- Heat your oil to the right temperature:
- A thermometer is non-negotiable here—350°F is the sweet spot where the outside crisps before the cheese leaks out everywhere. Too hot and you'll burn the coating; too cool and you'll end up with greasy, soggy bites.
- Fry in batches and watch for the golden moment:
- Don't overcrowd the pan or the temperature will drop and your bites will absorb oil instead of crisping. Two to three minutes per batch, turning occasionally, and they should emerge looking like little golden jewels.
- Drain and serve immediately:
- Paper towels are essential here to absorb excess oil. Remove toothpicks before serving, then watch people's faces light up when they bite into one.
 Save to Pinterest
 There was this moment at a dinner party when someone bit into one of these and got that explosion of briny pickle juice mixed with melted cheese and hot, salty breadcrumbs all at once, and their eyes went wide like they'd just discovered something illegal. That's when I knew these weren't just snacks—they were the kind of food that makes people feel good.
Flavor Combinations That Work
The beauty of Crispy Chickle Bites is how adaptable they are once you understand the formula. I've played with spicy mayo spiked with sriracha, ranch mixed with hot sauce, even a lemony dill mayo that felt like summer on a plate. The dill-pickle-cheese combo is already so balanced that your dipping sauce just needs to complement without overpowering, whether that's cool and tangy or hot and bold.
Baking Option for When You Want Less Oil
Not everyone has the confidence or the oil quantity to fry, so I developed a baked version that honestly feels less indulgent but still crunches. Place your breaded bites on a parchment-lined baking sheet, give them a light spray of cooking oil, and roast at 425°F for about twelve to fifteen minutes, flipping halfway through. You lose a tiny bit of that deep golden color, but the flavor stays true and your kitchen stays cleaner.
Make Ahead and Storage Strategy
You can assemble these hours before frying and keep them in the fridge, which makes them perfect for parties when you want to look calm and collected while people think you've been slaving away. They don't reheat beautifully because they lose their crispness, so fresh frying is the way to go, but the prep-ahead option gives you breathing room on busy nights.
- Assemble the cheese-wrapped pickles and refrigerate uncovered for up to four hours before breading if you want to break up the work.
- Once breaded, fry them within an hour or two for the best texture and structural integrity.
- Leftovers can technically be refrigerated and reheated in a hot oven, but they'll never be quite as crispy as fresh, so eat them straight from the pan if you can.
 Save to Pinterest
 These little bites remind me that the best food doesn't have to be complicated—it just has to hit that sweet spot where texture and flavor surprise you. Make them whenever you want people to feel cared for without the exhaustion of complicated cooking.
Recipe FAQs
- → What type of cheese works best for this snack?
Firm melting cheeses like mozzarella, cheddar, provolone, or pepper jack are ideal for wrapping the pickles as they melt smoothly while frying.
- → Can these bites be baked instead of fried?
Yes, baking is a great alternative. Place the bites on a parchment-lined sheet, spray with oil, and bake at 425°F for 12-15 minutes, flipping halfway to crisp evenly.
- → How do you prevent the pickles from making the coating soggy?
Pat the pickle spears dry thoroughly with paper towels before wrapping and coating to ensure the crumbs adhere well and stay crispy.
- → Are gluten-free breadcrumbs necessary?
Gluten-free breadcrumbs can be used for dietary needs, but regular panko breadcrumbs will also work if gluten is not a concern.
- → What dipping sauces pair well with these bites?
Classic dips like ranch, spicy mayo, or marinara complement the tangy and crispy flavors of the cheese-wrapped pickles wonderfully.